
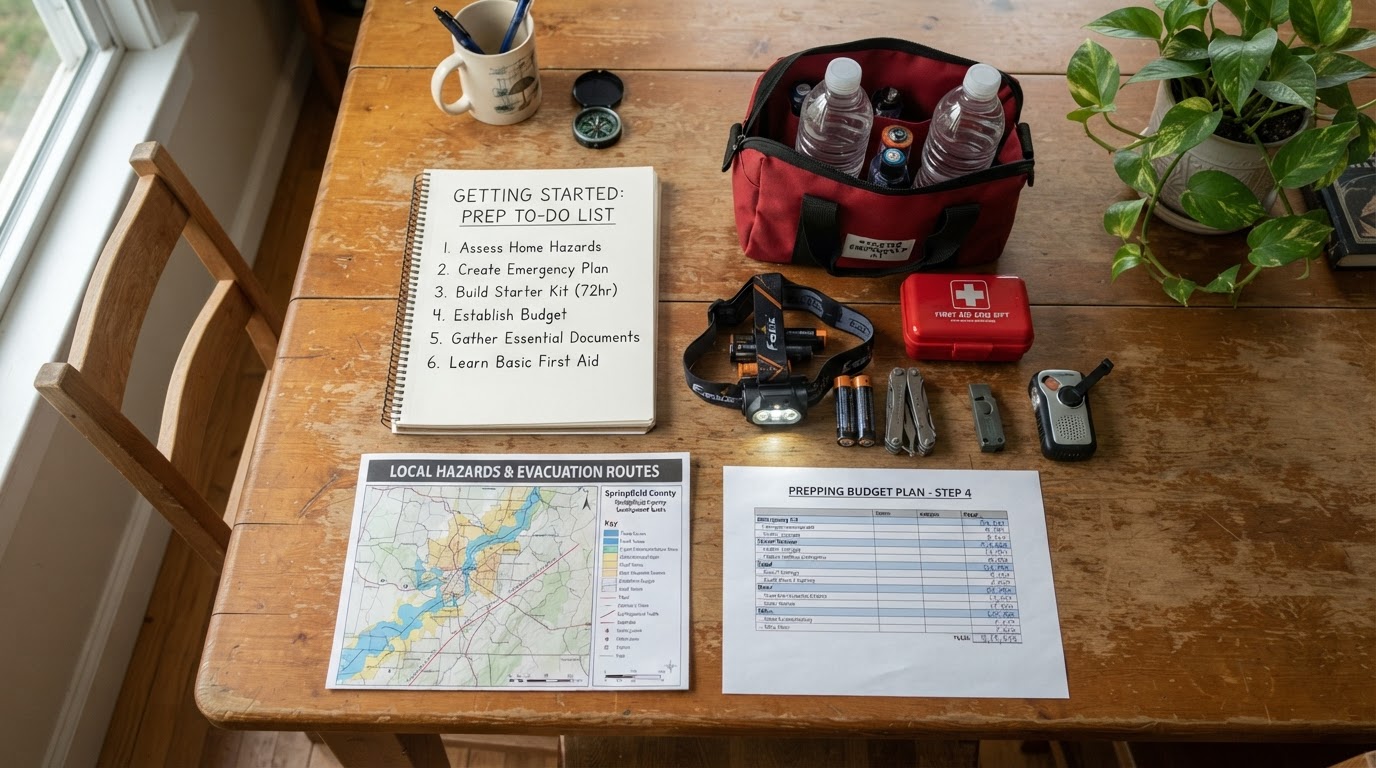
How to Start Prepping
How to Start Prepping: A Concrete Sequence of First Actions
If you have ever wondered how to start prepping, this guide gives you the exact sequence. Follow these first actions in order and you will have a working household plan and basic supplies within a few weeks.
Quick Answer
To start prepping, first write a household plan with contacts and a meeting point. Then store three days of water and food. Next add light, a first aid kit, and local emergency alerts. Finally, build a go-bag and practice your plan. Each step is small, affordable, and builds on the last.
Key Takeaways
- •Start with a free plan and contact list, not a shopping trip.
- •Add water and food before any specialized gear.
- •Set up local alerts so you hear about emergencies early.
- •Practice the plan once it exists; an untested plan is a guess.
Step 1: Write Your Household Plan
Before buying anything, sit down with your household and write a simple plan. List an emergency contact outside your area, a meeting point near home, and a second one outside your neighborhood. Decide who is responsible for pets, supplies, and shutting off utilities.
This plan costs nothing and is the foundation everything else rests on. Keep a printed copy where everyone can find it, and save a photo on each phone.
Step 2: Store Water and Food
Water is the first supply because you cannot live without it. Store one gallon per person per day for at least three days, plus extra for pets. Use food-grade containers and keep them in a cool, dark place.
Then add three days of shelf-stable food your household already eats. Include a manual can opener and rotate these items into your regular meals so nothing expires unused.
Step 3: Add Light, First Aid, and Alerts
A power outage is one of the most common disruptions, so light comes early. Keep a flashlight or headlamp where you can find it in the dark, with spare batteries.
Add a basic first aid kit and take a few minutes to learn what is inside it. Then sign up for local emergency alerts through your county and consider a NOAA weather radio for warnings when phones are down.
Step 4: Build a Go-Bag and Practice
Once your stay-at-home basics are solid, build a go-bag for each person with copies of documents, a change of clothes, snacks, water, and a flashlight. This prepares you for evacuation.
Finally, practice. Walk through your plan with the whole household twice a year. A drill reveals gaps you would never find on paper.
Start Prepping: First 30 Days
| Week | Action | Approximate cost |
|---|---|---|
| 1 | Write household plan and contact list | Free |
| 2 | Store 3 days of water | $15-30 |
| 3 | Add 3 days of shelf-stable food | $25-50 |
| 4 | Flashlight, first aid kit, local alerts | $30-60 |
Frequently Asked Questions
What is the very first thing I should do to start prepping?
Write a household plan with contacts and a meeting point. It is free and more valuable than any single purchase.
How long does it take to become prepared?
You can cover the basics in about a month of small steps. Deeper readiness for longer disruptions builds over time.
Do I need to buy a lot of gear to start?
No. Start with water, food, light, and a first aid kit. Most of it is inexpensive and available at any grocery store.
Should I tell my family I am prepping?
Yes. Preparedness works best when the whole household knows the plan and their role in it.